Santa

Every year I carve my mom a little Santa for Christmas. You may remember Persian Santa, Kung Fu Santa, and climbing Santa from years past.

This year I was talking to SarahLyla and she mentioned the potential of including a snowflake in this years design. That sparked this year’s idea: Santa riding a snowflake like a sled.

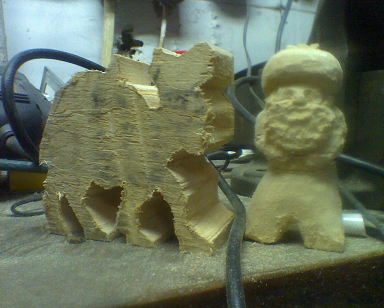
I decided to carve the two pieces separately. First up, the snowflake.

Jigsawed!

While it’s really easy to imagine a delicate complex snow crystal, it’s kinda annoying to draw even the most simple self-dignified snowflake. At first I tried to cut a snowflake out of paper and then copy it onto wood, but even my paper snowflakes were dismal. I vow to never under appreciate the workmanship of a high quality paper snowflake. In the end, the best method for me was to use a protractor and a ruler and draw directly onto the wood. Where I falter in my art, I make up for in simple geometry.

I used a jigsaw to cut out the rough snowflake design.

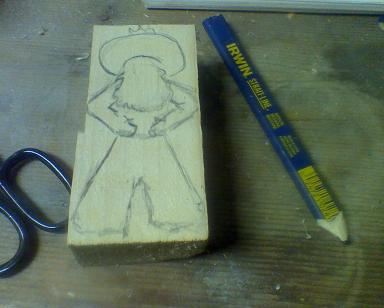
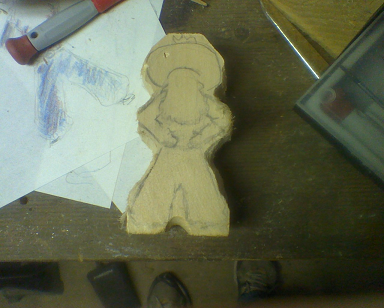
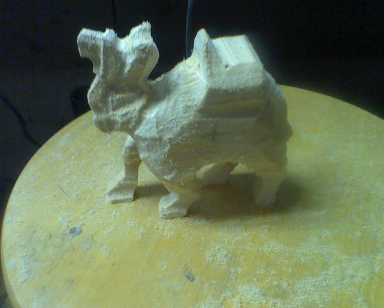
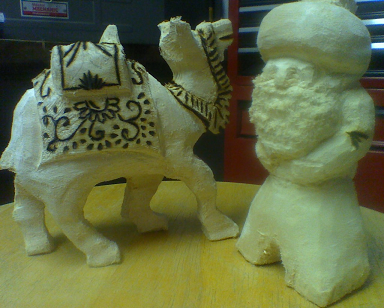
This Santa was one of the trickier ones I’ve completed. The challenge was that usually my Santas are in a static position. I wanted this Santa to be actively balancing while trying to ride his bucking sled.

That's his leg sticking out on the left.

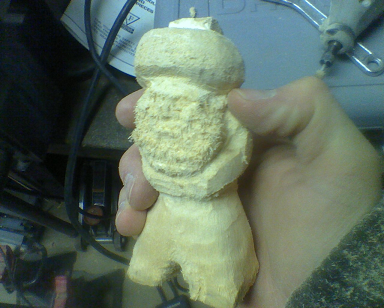
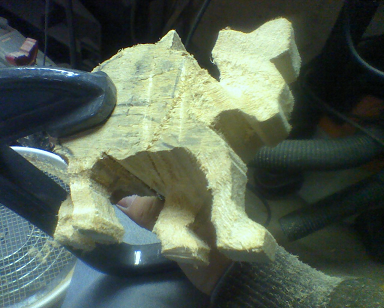
Note the beast of a carving tool I’m using there. It’s a monster machine I inherited from my grandfather. It makes quick work of the wood, but I wear all sorts of protective gear whenever I operate that monster. It has a tendency to kick off the part and swing into whatever’s holding the wood. As much as possible, I try and use a clamp to hold down the original block.

Santa prepainted, on his sled.

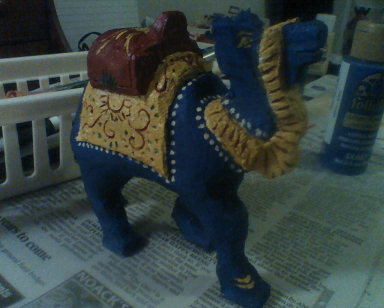
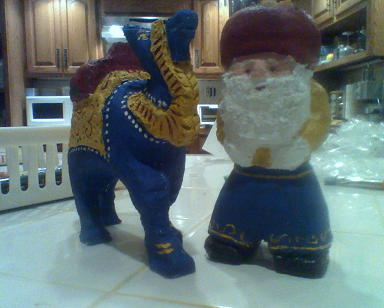
Painting was fun, I used white and blue for the snowflake and a purple/gold for the Santa.

Snowflake!

As I painted, I was hesitant about the choice of dark purple for Santa’s coat, but it cleaned up quite nicely.
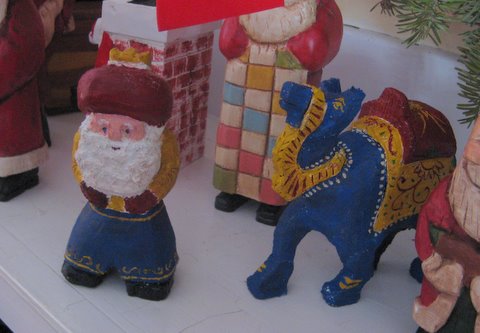
The finished product!

Done!

Persian Santa

With a few exceptions, I’ve been carving my mom Santas as Christmas gifts for the past few years. You might remember Kung Fu Santa and Climbing Santa from years past. This year, inspired by a beautiful artistic camel owned by a coworker, I decided to carve a Persian Santa with an accompanying camel.

With the aid of new recently acquired carving equipment, this years work went a bit more smoothly than years past. Enjoy!

Step 1:
Find some wood and draw the front view of your santa.

step1pers.JPG

Step 2: The rough cut. I don’t have a bandsaw, which would have made this eternally easy, but I do have a chop saw which was a good start and dramatically reduced the carving time.

step2pers.PNG

Step 3:
With the front view cut, I drew a side view and trimmed whatever I could with the chop saw. Admittedly, any tool would have been better, but ya work with what ya got.

step3persa.PNG

Step 4:
With the general shape already taken care of, it’s not a lot of work to get in there to start rounding corners.

step4pers.PNG

Step 5: Having the general shape of the Santa complete, I started in on the camel. Conveniently, the shape of the camel allowed me to use a jigsaw instead of the chop saw.

step5pers.PNG

Step 6: I have a new carving tool which obliterates wood. While awesomely carvrific, it’s also brutal. I held the wood with a clamp just in case the tool took off on me. I didn’t really feel like loosing any fingers. The legs were trimmed down using this monster new tool.

step6pers.PNG

Step 7: Here’s the camel after rounding.

step7pers.PNG

Step 8: One of the best methods for detailing on wood is a burning tool. I have a burner which pumps current through a sharp tip. By digging the tip into the wood you can quickly burn away very specific patterns. Here I’ve drawn the area that I want to burn.

step8pers.PNG

Step 9: Here’s the first pass with the burning tool. You’ll note I also added some creases in the Santa’s elbow.

step9pers.PNG

Step 10: I love the look of burned wood, but if all carvings were left with the burned look, then collectively they’d look stupid. It’s always tough to start painting after the burning, but you gotta do it.

I start with a white primer coat. My camel would be blue with red and gold highlights. Check it out:

step10pers.PNG

Step 11: Paint the Santa. same theme here, white primer with gold blue and red coverings.

step11pers.PNG

Step 12: After painting, I applied an antiquing coat. It’s kinda like dirt paint. It makes things look older and accents the shadows on your piece. Here is the final result of the Santa and his camel on my mom’s fireplace mantel next to a few other Santas.

picture-274.jpg

Merry Christmas Mom!!