This weekend I decided to do a few plumbing jobs at the House of Rock. The first, was an installation of a dish washer. The second was replacing the fixtures in the upstairs bath. These jobs worked well together because both required the water to be turned off, and both would, I suspected, require some sweating of pipe. Because this is a tutorial, all the measurements will be in English units with metric measurements in parentheses.
Sweating pipe, or soldering, is pretty fun and not entirely difficult. I documented the change of the shower fixtures so that if anyone happens to need to do something like this, they’ll have some guidance. Make sure you have access to the back of your shower.
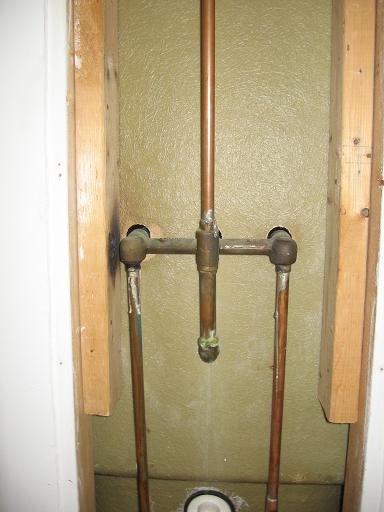
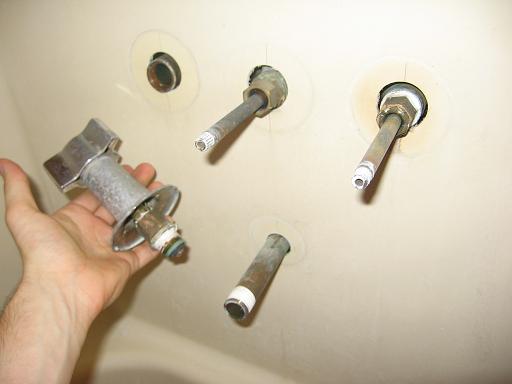
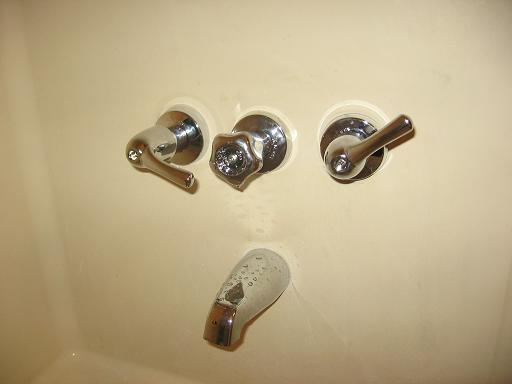
My shower has three knobs: hot water, cold water, and a shower/tub knob.
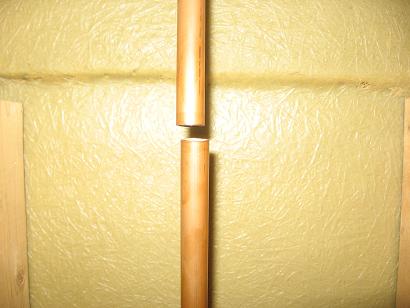
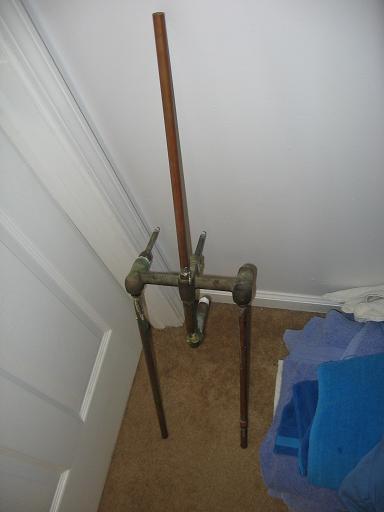
Here’s what the back looks like:
Provided you have no problems with finding the back of the shower, it’s time to get some stuff.
Materials.
I headed over to Lowe’s and purchased the same type of fixture that I had previously. It came with all the main pieces including a copper water header for behind the shower wall. Cost: $92.00
You’ll need some copper pipe. Check to see what size you have. I had 1/2 inch (12.7mm). Because I was doing two jobs, I got about 4 feet worth. This cost approximately $8.50. Because I ended up substituting in flexible hose… I could have gotten by without purchasing this.
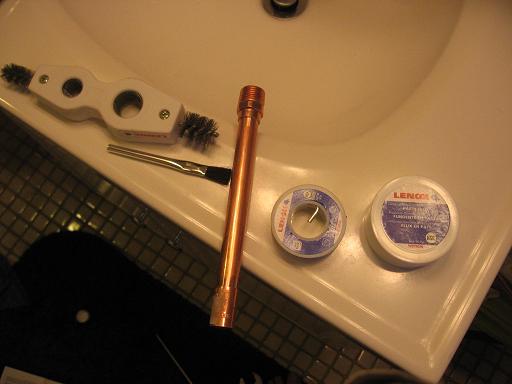
In the picture above we have a pipe cleaner with both male and female sides ($4), a small brush for applying flux ($1.30 package of four), some copper pipe along with fittings (explained below), some lead free solder ($3), and some flux ($1.5).
On the bottom of that copper piece above is a copper coupler with a stop ($0.37). The stop makes it so that you can only put a pipe halfway into the coupler. On the top, is a 1/2 to 1/2 threaded connection ($1.70). This is necessary for my application because the new shower head water manifold has threaded connections. I had to get three of each of these, one for incoming hot, one for incoming cold, and one for outgoing shower.
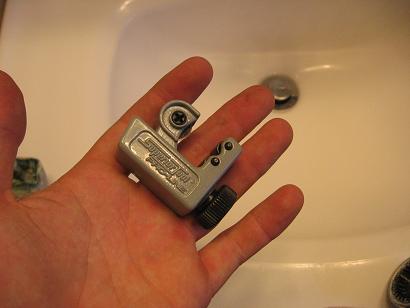
You’ll need a pipe cutter too ($10). This one that I got is good for most household applications. It can cut up to 7/8 inch pipe.
As stated above, I also got three flexible hoses – each with its own nut. That way I could screw the house pipe into the water header without any difficulty. You’ll see a picture of these later on.
Oh. you’ll need a torch too.
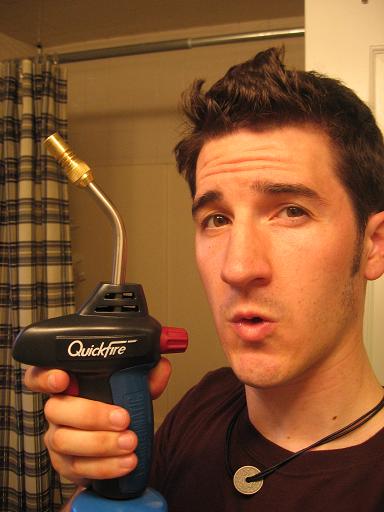
I got a little Propane kit. They also sell Mapp gas and Oxy/Acetylene torches, but the propane is cheap… and for occasional plumbing adventures, it’ll work fine. If you’re doing a LOT, the Mapp is the way to go. It provides incredible heat. But it’s more expensive. Propane torch: ($23). Propane refills: ($2.00). Mapp torch: ($42) Gas refills: ($8)
Other item’s you’ll want:
Aluminum Foil
Vice Grips
A friend or two
A good understanding of how to turn the water off at your house.
Pipe Wrench
Screwdrivers
Fire extinguisher
Side note:
My fixture kit did not include the pieces of pipe that go from the water header to the main tub faucet. I had to get some steel plumbing pieces to make this work. Unfortunately the heavy ‘trial and error’ phase was costly. The only way I ended up getting the job done was bringing the piece with me to Lowe’s. Once the guys there were able to see what I needed, it was trivial finding the correct parts.
The Process.
Turn the water off.
Take inventory, and then take off the current fixtures. In order to remove the tub faucet, I had to grab it with a pipe wrench and provide some serious umph.
Here’s a picture of the front (after I removed the handles):
I decided to cut current equipment out. I had my flexible hose, which I held up to make sure that I’d cut out enough copper. I cut about 6 inches more than the length of my flexible hose.
I used my pipe cutter and cut the three lines: incoming hot, incoming cold, and outgoing shower.
Once it was cut, I could pull out the old equipment.
At this point I did some more measuring. I took each flexible hose, held it up with the new water manifold, and figured out how long each copper piece I’d need would be.
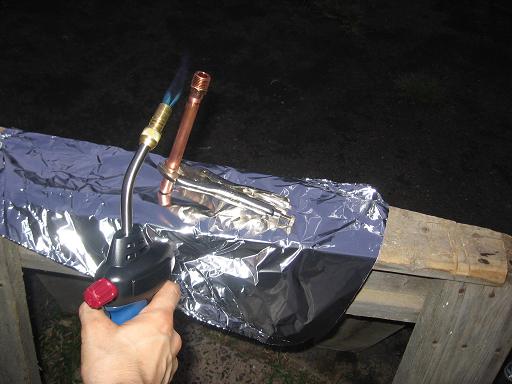
At this point I went outside and cut the copper pipe. Had I planned better I could have just cut six or so inches off of the old equipment… but instead, I used the new stuff. I threw a piece of aluminum foil onto a saw horse as a heat shield, and propped a piece of copper up with the vice grips. After cleaning both the inside of the couplers and threaded pieces and the outside of the pipe, I applied flux to the outside of the pipe with the brush.
Flux basically removes oxide from the surface of the pipe. This is essential for a good solder joint.
Then I connected the two pieces by hand and lit up the torch.
When applying heat to the pipe, try to aim most of it at the larger of the two pieces. This will force any conduction of heat to go through the copper tube through the soldering point. It’s hard to tell when you’re done heating it. Basically I just kept the flame on the metal until when I touched the copper with the solder, the solder melted immediately.
Once hot, I removed the heat and took the solder and ‘slid’ it around the joint. The solder melts and is pulled into the gap between the two pieces. If you apply solder and it melts… but it doesn’t look like you added any solder… don’t worry. that’s normal.
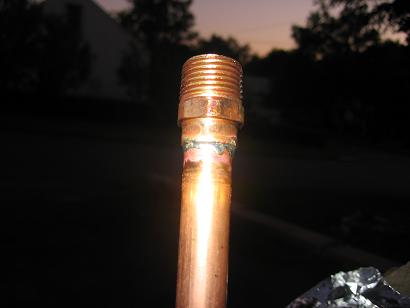
Once completed, it should look something like this:
Connect as many pieces as you can outside. You’ll have to do the last three solder joints in the house.
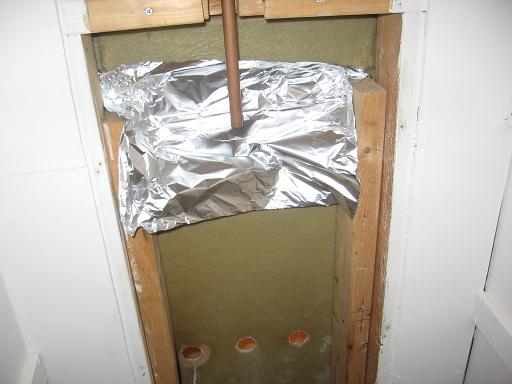
Put up an aluminum foil heat shield around your work piece:
Flux these just like the last ones
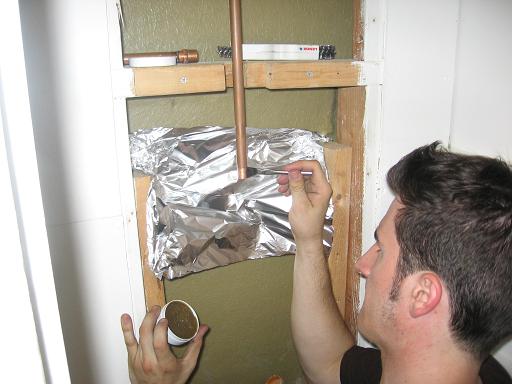
Assemble!
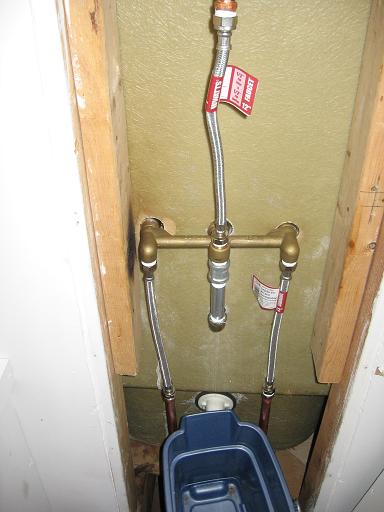
Note the flexible hose. This is a benefit for a few reasons.
1) it allows you to be a little sloppier in your measurements
2) it will make replacing the setup much easier in the future.
Tony checked out my work, and made a few good suggestions. He pointed out that it would have been easy, and handy, to have put two ball valves into my assembly. This would allow a future user to just turn off that one shower in the future if work needed to be performed on it instead of having to turn off the whole house. Ball valves are about 8 bucks each but are far superior to the typical ‘wheel handle’ valves.
The end result:
I still have to readjust the nozzles so that they don’t look stupid when the water is off.
Also, because I used flexible hose, I need to build a bit of a support for the new water manifold. Currently, when you use the fixtures, the whole assembly shakes. It’s very sloppy.
But all the soldering held, so that’s a good thing.
If you ever find yourself doing this and need help, just fire over an e-mail with any questions and I’ll try to help out.
Just wanted to let you know that I found your ideas very helpful while up-dating my bathroom fixtures! Turns out I even used the same handle set. I put mine pointed out while off.