Last week Schenk challenged me to an MSPaint vs. Photoshop match. The goal was to draw a ping pong paddle. I went into great detail of my methods here. In response, Ryan decided to make up a little how to that explains his methods for creating a Photoshop masterpiece.
Without further ado….
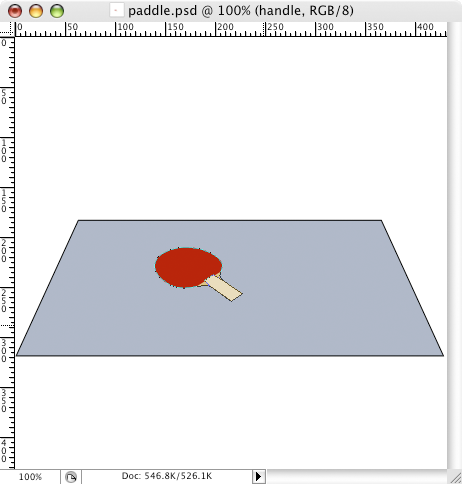
How do draw a ping pong paddle in 9 easy steps!

Step 1. Drawing in perspective is entirely too hard. So do begin with, draw the shape of a ping pong paddle head-on, it’s much easier this way. Note that this is a shape layer, I will be using shape layers exclusively in this tutorial.
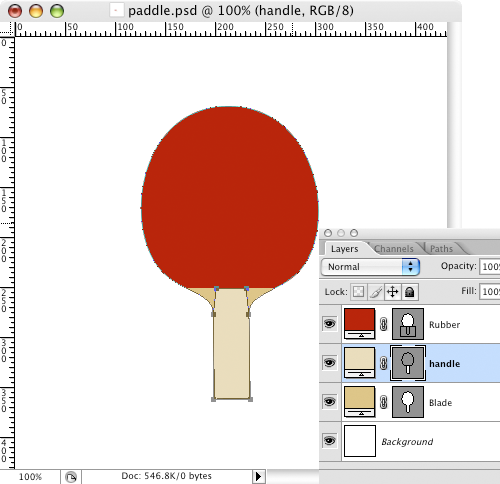
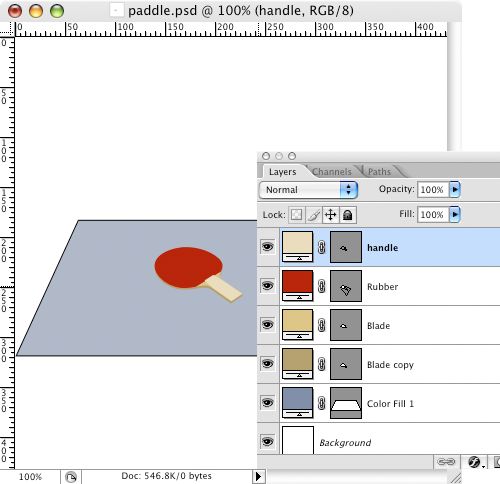
Step 2. Once you’ve created the outline of the paddle, duplicate the layer twice, and adjust these duplicated shapes accordingly to create the rubber surface of the paddle and the handle. You can see that once I got the shape right, I made the rubber red and the handle a lighter shade of brown.
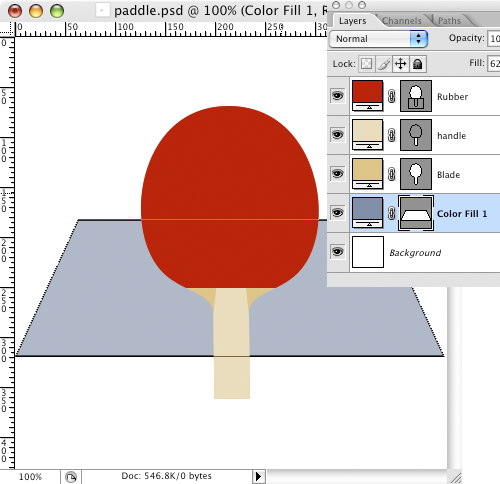
Step 3. I always need a little help with perspective, so I drew a rectangle shape layer, and used the Perspective transform tool (Edit-> Transform -> Perspective) to create a plane that the paddle will eventually be resting on.

Step 4. Select all your paddle layers (this only works in PS CS2 and above), and using the rotate tool (Edit -> Transform -> Rotate), rotate your paddle counter-clockwise.
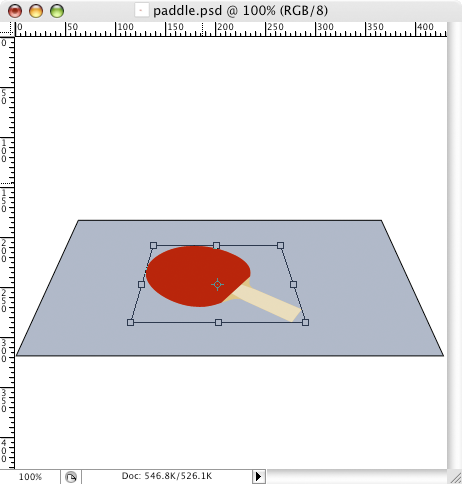
Step 5. Using the Perspective or Free Transform tool, put your paddle into the perspective of the plane you drew in Step 3.
Step 6. I’ve resized the paddle a little smaller, the size that I want my icon to be, and I chopped off some of the handle that got elongated by the Perspective transform tool.
Step 7. To give the illusion of depth, I duplicated the Blade layer, made it darker brown, and offset it below and to the left the original blade. I also tweaked the Handle layer a little bit to create an overlapping effect over the rubber.
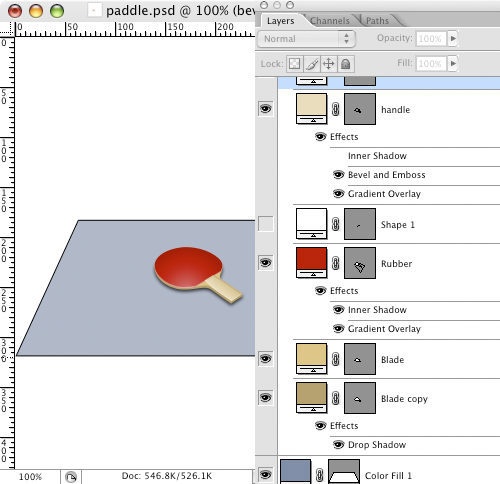
Step 8. This is where all the magic happens, and why I like to use shape layers, because you can mess with the effects endlessly. You can see I’ve added a drop shadow to the layer created in Step 7, a gradient and faint white highlight to the Rubber layer, and a gradient and embossing to the Handle layer.
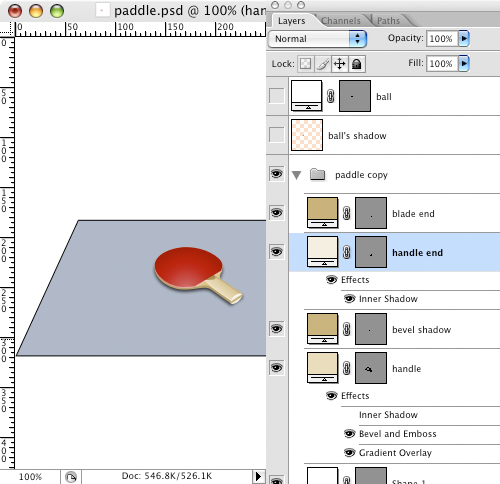
Step 9. To finish things up and complete the illusion of a 3d object, I drew a light brown ellipse on the end of the handle, a dark brown rectangle through it for the blade of the paddle, and a dark brown arc where the handle tapers down to the rubber. And that’s a wrap.